
iOS를 사랑하는 AOS 개발자
[Android] 안드로이드 JSON 사용하기 (feat.RecyclerView) 본문
👼🏻 초보 안드로이드 개발자가 매번 구글링하기 싫어서 정리하는 블로그 👼🏻
안녕하세요! 🙋🏻♀️
오늘은 JSON 데이터를 사용하는 초간단 방법을 써볼거에요!!
후딱후딱 가봅시다!
오늘의 주인공인 JSON을 미리 준비해야겠죠?
제가 만들고 사용한 JSON 파일입니다!
이걸 토대로 각자 사용하고싶으신 내용으로 바꾸어서 해보셔도 나쁘지 않을 것 같아요 😉
JSON 파일을 프로젝트 내에 준비해줘야하는데요!
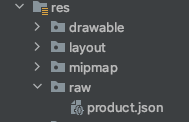
res 를 우 클릭해서 디렉토리를 새로 생성해줍니다!
그 안에 json 파일을 넣으면 된답니다 🤗
준비물은 끝났으니 바로 시작해봅시다!
activity_main.xml
<?xml version="1.0" encoding="utf-8"?>
<LinearLayout
    android:orientation="vertical"
    xmlns:android="http://schemas.android.com/apk/res/android"
    xmlns:app="http://schemas.android.com/apk/res-auto"
    xmlns:tools="http://schemas.android.com/tools"
    android:layout_width="match_parent"
    android:layout_height="match_parent"
    tools:context=".MainActivity"
    android:padding="20dp">

    <TextView
        android:layout_width="match_parent"
        android:layout_height="wrap_content"
        android:text="목록"
        android:textStyle="bold"
        android:textSize="20dp"
        android:gravity="center"
        android:layout_marginBottom="20dp"
        />

    <androidx.recyclerview.widget.RecyclerView
        android:id="@+id/rv_recycle"
        android:layout_width="match_parent"
        android:layout_height="match_parent"
        />

</LinearLayout>
JSON 데이터를 RecyclerView 에 뿌려줄거이기에
RecyclerView 위젯을 사용했어요!
RecyclerView 를 사용하기 위해 데이터가 들어갈 공간의 디자인,
그 디자인을 이용하여 데이터를 넣어줄 어뎁터,
그 데이터는 일회성이 아니라 차곡차곡 쌓여야함으로 DTO를 만들어줘야합니다!
❌ 순서는 상관없지만, 습관을 들이면 좋아요!!!!
저는 보통 VIEW(xml) ▶️ 저장소(DTO) ▶️ Adapter 이런 순으로 만들어주긴합니다 ☺️
recycler_layout.xml
<?xml version="1.0" encoding="utf-8"?>
<LinearLayout xmlns:tools="http://schemas.android.com/tools"
    android:orientation="vertical"
    xmlns:android="http://schemas.android.com/apk/res/android"
    android:layout_width="match_parent"
    android:layout_height="wrap_content"
    android:padding="5dp"
    android:gravity="center">

    <LinearLayout
        android:layout_width="wrap_content"
        android:layout_height="wrap_content"
        android:orientation="horizontal"
        >
        <TextView
            android:layout_width="wrap_content"
            android:layout_height="wrap_content"
            android:text="제품 : "
            />
        <TextView
            android:id="@+id/tv_type"
            android:layout_width="wrap_content"
            android:layout_height="wrap_content"
            android:text=""
            />
    </LinearLayout>
    <LinearLayout
        android:layout_width="wrap_content"
        android:layout_height="wrap_content"
        android:orientation="horizontal"
        >
        <TextView
            android:layout_width="wrap_content"
            android:layout_height="wrap_content"
            android:text="기기명 : "
            />
        <TextView
            android:id="@+id/tv_name"
            android:layout_width="wrap_content"
            android:layout_height="wrap_content"
            android:text=""
            />
    </LinearLayout>
    <LinearLayout
        android:layout_width="wrap_content"
        android:layout_height="wrap_content"
        android:orientation="horizontal"
        >
        <TextView
            android:layout_width="wrap_content"
            android:layout_height="wrap_content"
            android:text="색상 : "
            />
        <TextView
            android:id="@+id/tv_color"
            android:layout_width="wrap_content"
            android:layout_height="wrap_content"
            android:text=""
            />
    </LinearLayout>
</LinearLayout>
한칸한칸의 디자인을 완성했다면 저장소를 만들러 갑니다!
DataDTO
public class DataDTO {
    String type;
    String name;
    String color;

    public DataDTO(String type, String name, String color) {
        this.type = type;
        this.name = name;
        this.color = color;
    }

    public String getType() {
        return type;
    }

    public void setType(String type) {
        this.type = type;
    }

    public String getName() {
        return name;
    }

    public void setName(String name) {
        this.name = name;
    }

    public String getColor() {
        return color;
    }

    public void setColor(String color) {
        this.color = color;
    }
}
저장소가 완성되었다면 이제 디자인과 저장소를 다 써보러 어뎁터로 갑니다 !
RecyclerAdapter
public class RecyclerAdapter extends RecyclerView.Adapter<RecyclerAdapter.ViewHolder> {

    Context mContext;
    ArrayList<DataDTO> data;

    public RecyclerAdapter(Context mContext, ArrayList<DataDTO> data) {
        this.mContext = mContext;
        this.data = data;
    }

    @NonNull
    @Override
    public ViewHolder onCreateViewHolder(@NonNull ViewGroup parent, int viewType) {
        View v = LayoutInflater.from(parent.getContext()).inflate(R.layout.recycler_layout,parent,false);
        ViewHolder viewHolder = new ViewHolder(v);
        return viewHolder;
    }

    @Override
    public void onBindViewHolder(@NonNull ViewHolder holder, int position) {
        holder.tv_type.setText(data.get(position).getType());
        holder.tv_name.setText(data.get(position).getName());
        holder.tv_color.setText(data.get(position).getColor());
    }

    @Override
    public int getItemCount() {
        return data.size();
    }

    public class ViewHolder extends RecyclerView.ViewHolder {

        TextView tv_type, tv_name, tv_color;

        public ViewHolder(@NonNull View itemView) {
            super(itemView);

            tv_type = itemView.findViewById(R.id.tv_type);
            tv_name = itemView.findViewById(R.id.tv_name);
            tv_color = itemView.findViewById(R.id.tv_color);


        }
    }
}
자 이제 JSON의 데이터를 RecyclerView 에 사용하기위한 준비물은 끝났습니다!
대망의 MainActivity로 넘어가봅시다!
MainActivity
public class MainActivity extends AppCompatActivity {

    RecyclerView rv_recycle;
    RecyclerView.LayoutManager layoutManager;
    RecyclerView.Adapter adapter;

    DataDTO dto;
    ArrayList<DataDTO> data = new ArrayList<>();

    @Override
    protected void onCreate(Bundle savedInstanceState) {
        super.onCreate(savedInstanceState);
        setContentView(R.layout.activity_main);

        rv_recycle = findViewById(R.id.rv_recycle);

        parser();

        layoutManager = new LinearLayoutManager(MainActivity.this);
        rv_recycle.setLayoutManager(layoutManager);

        adapter = new RecyclerAdapter(MainActivity.this, data);
        rv_recycle.setAdapter(adapter);
    }


    private void parser() {
        InputStream inputStream = getResources().openRawResource(R.raw.product);
        InputStreamReader inputStreamReader = new InputStreamReader(inputStream);
        BufferedReader bufferedReader = new BufferedReader(inputStreamReader);

        StringBuffer stringBuffer = new StringBuffer();
        String line = null;

        try {
            while ((line = bufferedReader.readLine()) != null){
                stringBuffer.append(line);
            }
            Log.v("TAG", "StringBuffer : "+ stringBuffer.toString()) ;

            JSONObject jsonObject = new JSONObject(stringBuffer.toString());
            JSONArray jsonArray = new JSONArray(jsonObject.getString("apple_product"));

            for(int i = 0; i < jsonArray.length(); i++){

                JSONObject jsonObject1 = (JSONObject) jsonArray.get(i);

                String type = jsonObject1.getString("type");
                String model = jsonObject1.getString("model");
                String color = jsonObject1.getString("color");

                dto = new DataDTO(type, model, color);
                data.add(dto);

            }
        }catch (Exception e){
            e.printStackTrace();
        }finally {
            try {
                if(inputStream != null) inputStream.close();
                if(inputStreamReader !=null) inputStreamReader.close();
                if(bufferedReader != null) bufferedReader.close();

            }catch (Exception e){
                e.printStackTrace();
            }
        }
    }
}
JSON 데이터를 가져오는건 [ parser() ] 메소드에 다 들어가있습니다!
자 이제 한번 실행을 시켜볼까요?
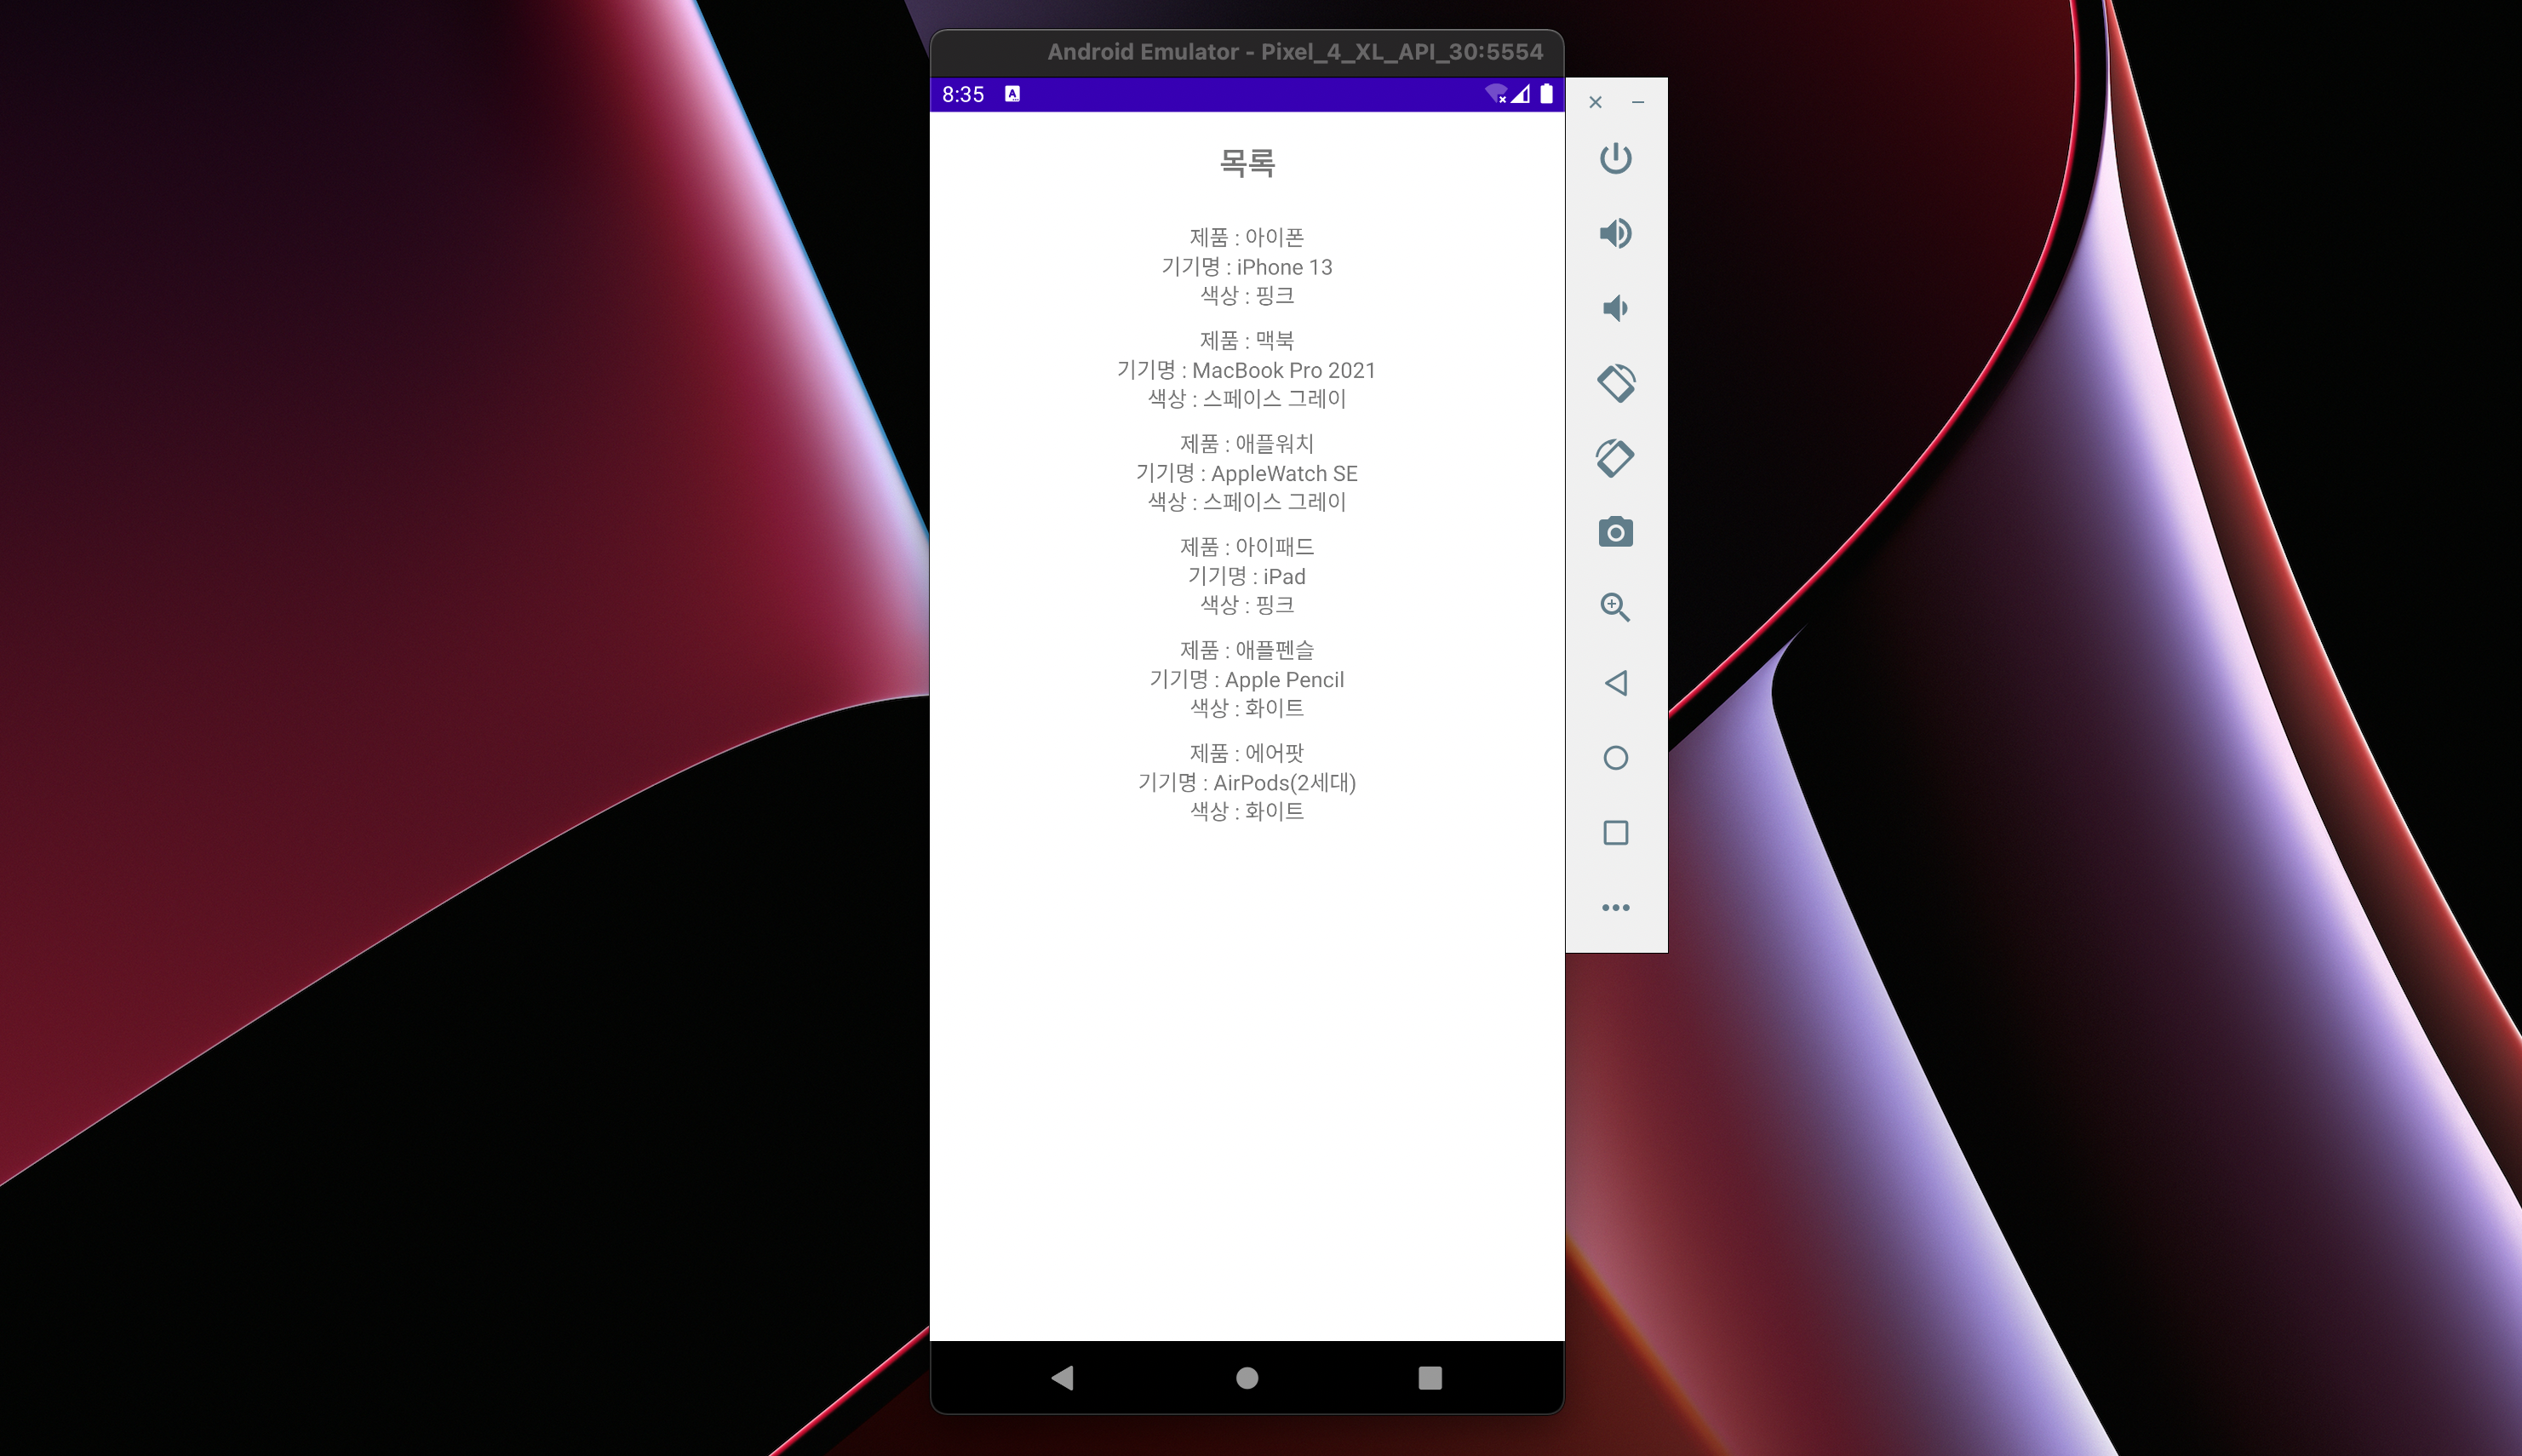
제가 입력한 JSON 데이터와 일치하게 잘 나오는군요!!!!
이렇게 아주 간단한 JSON 데이터 사용하는 방법을 마치도록 하겠습니다!!!
봐주셔서 감사합니다 🥰
'Android ( JAVA ) > 개발' 카테고리의 다른 글
| [Android] 안드로이드 ToggleButton, Switch 사용법 (0) | 2022.03.05 |
|---|---|
| [Android] 안드로이드 Spinner 선택 값 가져오기 (0) | 2022.02.27 |
| [Android] 안드로이드 WebView 사용하기 (0) | 2022.01.11 |
| [Android] 안드로이드 RecyclerView로 인스타그램 만들어보기 ( feat.Adapter ) (0) | 2022.01.05 |
| [Android] 안드로이드 TabLayout + Fragment ( feat.Adapter ) (0) | 2022.01.05 |
